Setup Steps
We recommend going through the steps below to get your ePlatform underway:
- Step 1. Familiarise yourself with the ePlatform admin area and setup the basic settings (notes below).
- Step 2. Setup Patron Authentication (how students/patrons login to the ePlatform), your IT department may need to get involved at this point.
- Step 3. Test the Patron Authentication once its setup.
- Step 4. Purchase a few titles for the ePlatform (this can be done earlier if preferred).
- Step 5. Make sure you have familiarised yourself with the eBook Applications that are available.
Admin Tips
Below are a few admin tips that may be helpful. The first three steps (Basic Settings) are highly recommended before launching your ePlatform to patrons or students.
Basic Settings
- Global Site Settings (loan limits etc): Within this area you can edit your default loan settings. Go through the 'Loans' and 'Reserves' settings and alter them if required.
- Note: These only applies to your ePlatform portal - if you are on ePlatform One Shared Collection, the loan limit and reserves are managed by us.
For more information on Fair Usage policy of ePlatform One, please contact our technical support.
- Note: These only applies to your ePlatform portal - if you are on ePlatform One Shared Collection, the loan limit and reserves are managed by us.
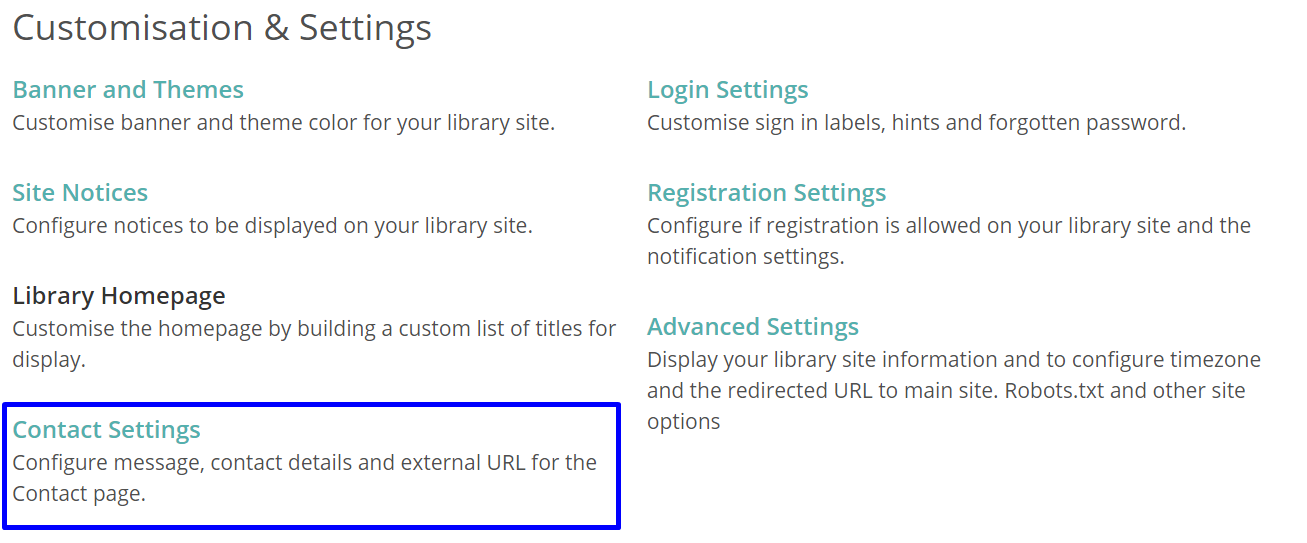
- Contact Settings: Within this area you can customise your 'contact us' page on the ePlatform. This page is intended for students/patrons to contact the library. Changes will reflect the 'contact us' page on the ePlatform, located on the top right.
- Analytics and Reports: Reports can be downloaded from this area to assist with monitoring the use of the ePlatform.

